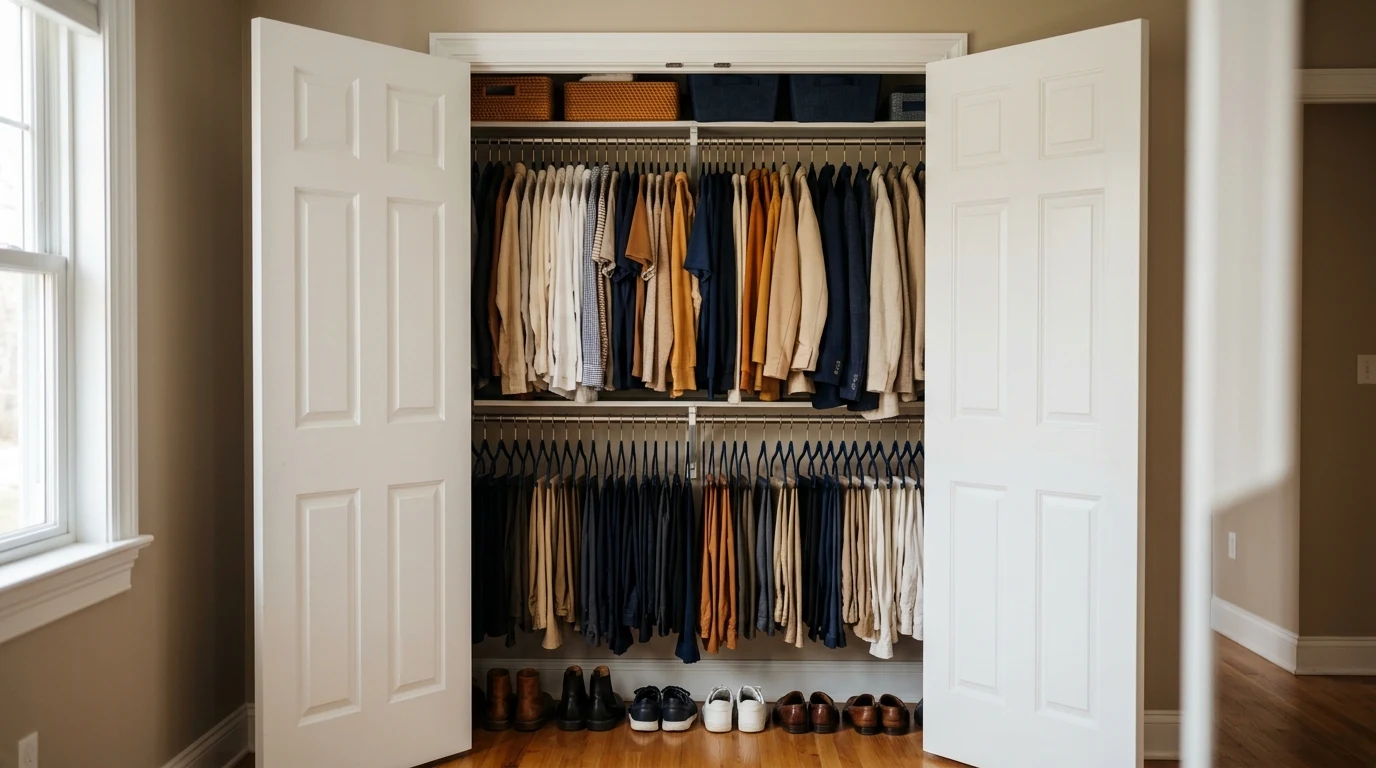
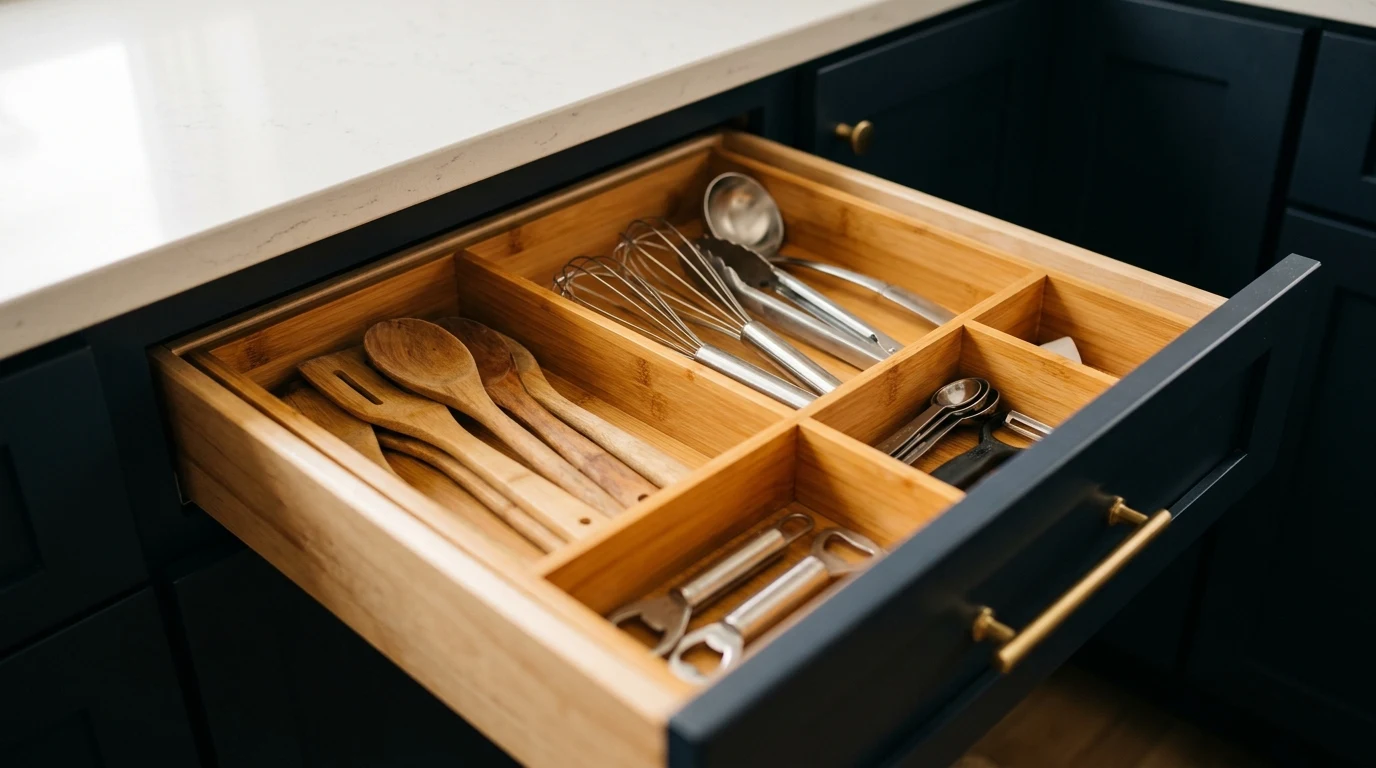
To organize kitchen drawers, give each drawer one job, empty it completely, keep only what you use, and divide what stays so nothing can slide. The dividers matter less than the decision about what belongs where. A drawer with a clear job stays tidy with cheap trays, and a drawer without one turns messy again even with expensive inserts.
You can do a normal kitchen in about an hour by working one drawer at a time. Start with the drawer you open most, because that is where you will notice the difference first.
What You Need Before You Start
- A tape measure
- A damp cloth for wiping drawers out
- A box for items going to another room
- A bag for donations
- Dividers or small trays, bought after you measure
Skip the shopping trip for now. Shoeboxes, cut cartons, and old containers work well as test dividers. Use them for a week, then replace them only if the layout proves itself.
Step 1: Give Every Drawer One Job
Stand in the kitchen and think about what you do at each spot. Coffee, cooking, plating, and packing lunches each happen in a particular place, and the tools for each task should sit within reach of it.
| Drawer location | Best job | Keep out |
|---|---|---|
| Next to the stove | Spatulas, tongs, whisks, ladles | Flatware, foil |
| Near the dishwasher | Flatware and everyday knives | Baking tools |
| Near the prep counter | Peelers, measuring cups, can opener | Serving pieces |
| Near the fridge | Foil, wrap, bags, containers | Cooking tools |
| Deep lower drawer | Pots, pans, lids | Small loose items |
If you have only two or three drawers, combine jobs by frequency. The top drawer holds what you use every day, and everything else moves lower. Kitchens with very little storage can also move some tools onto the wall, as covered in our guide to storage for small kitchens with no cabinets.
Step 2: Empty One Drawer and Sort It
Take everything out and put it on the counter, then wipe the drawer. Crumbs and sticky spots are easy to reach only when it is empty. Sort what you removed into four groups: use weekly, use a few times a year, belongs elsewhere, and leaving.
Duplicates are the fastest win. Most kitchens hold several can openers, spatulas, or peelers, and only the best one gets used. Keep that one. If you find it hard to part with gifts or barely used gadgets, our guide on items you feel bad throwing away walks through those decisions.
Junk drawers often hide old batteries, and they deserve a separate look. The EPA lists batteries among the household products that can contain hazardous ingredients and need special care at disposal, so check your local collection options instead of dropping them in the trash.
Step 3: Measure the Inside of the Drawer
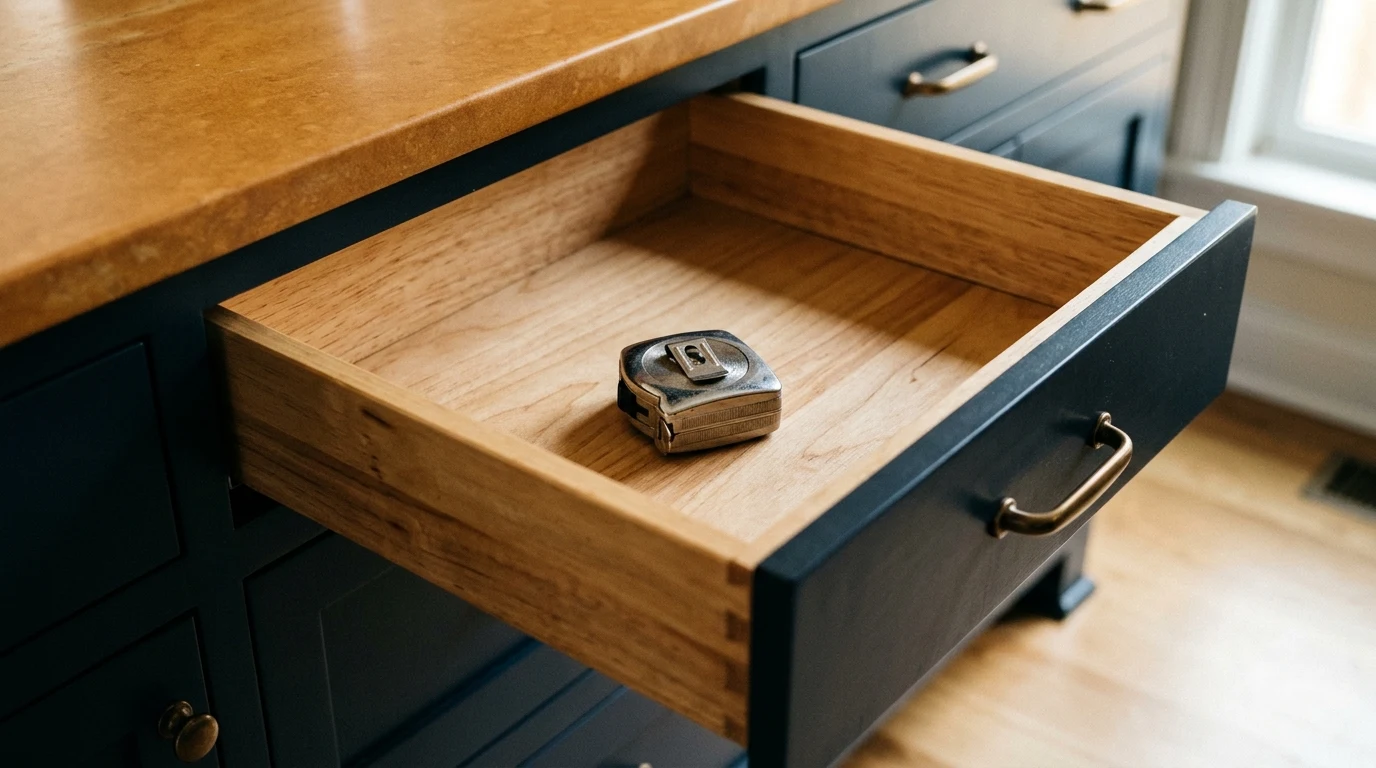
Measure the interior width, depth, and height, not the drawer front. Rails and side walls can take up more space than they appear to, and a tray that is slightly too wide will not sit flat. Write the numbers down and keep them on your phone so you have them when shopping.
Height is the measurement people forget. A divider that sits above the drawer’s clearance will catch on the counter when you close it.
Step 4: Divide by Size, Not by Category Alone
Long items need long compartments. Place the longest tools first along the side of the drawer, then fill the remaining space with shorter ones. Use this order:
- Lay out the items you decided to keep.
- Group the ones used together.
- Assign the largest compartment to the largest group.
- Fit dividers around the groups, leaving a little space in each.
- Open and close the drawer several times to see what shifts.
Compartments should hold their contents without being packed. If you have to lift three things to reach one, the group is too big for that space.
Step 5: Handle Deep Drawers Differently
Deep drawers fail when items stack. Anything on the bottom of a stack gets used less, and pulling it out disturbs everything above it. Keep each item visible from above whenever possible.
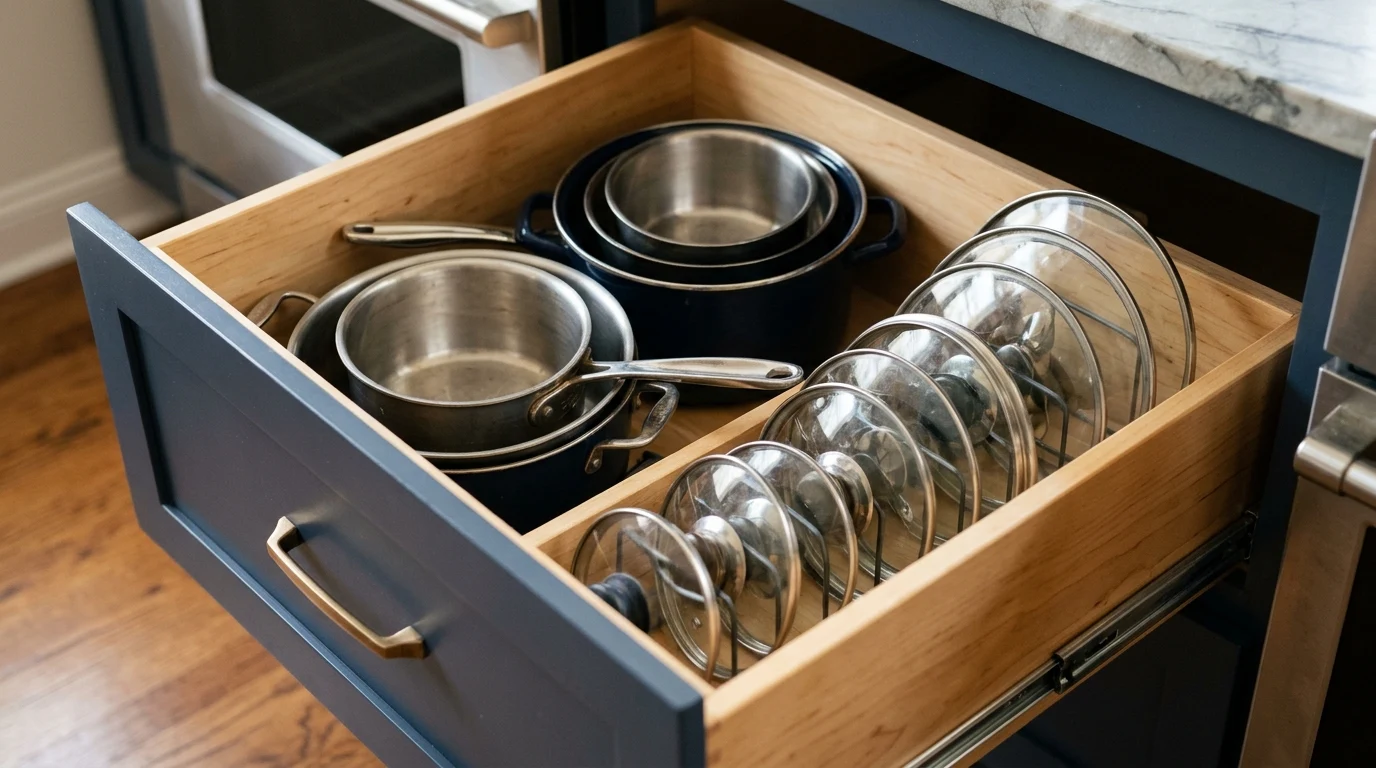
Stand lids on edge in a rack or between tension dividers. Nest only pans of the same type. Store bakeware vertically if the drawer is tall enough. For food containers, keep one set in matching sizes so the lids nest too, and recycle anything without a lid.
Step 6: Set a Rule That Keeps It Working
Drawers drift because new items arrive without a place. Choose one simple rule: when something new comes in, something similar goes out. Then spend two minutes each month straightening the drawer that gets the most use.
You will know the system works when you can reach for a tool without looking and put it back without thinking. If one compartment keeps overflowing, resize it instead of forcing it.
FAQ
What should go in the top kitchen drawer?
Put your most used items there, which usually means flatware or the tools you use while cooking. Choose based on what sits nearest to that drawer.
Do I need to buy drawer organizers?
No. Boxes and containers you already own will test a layout for free. Buy dividers later if the layout holds up and the temporary version slides around.
How do I stop items from sliding in a drawer?
Fill the gaps between trays with narrow dividers, and add a non-slip liner under them. Trays move when there is empty space around them.
Where to Go After the Drawers
Once the drawers are done, the rest of the kitchen becomes much easier to plan. Pick the next spot that slows you down, or take the same one-area approach to the whole house with our guide on where to start decluttering your home.

Jhonathan Verne runs Exodus Flow from Montgomery, Alabama, and is responsible for its guides on decluttering, small-space organization, and daily routines. Contact: contact@exodusgamers.com.